I am learning flutter from JustAcademy, They provide very much great environment where people gather and work simultaneously. totally project based training institute.
MOHD ABU BAKAR ANSARI
Flutter Developer
Awesome Experience. I am a Front-end Web Designer working at Star India for 3 years now. I applied for Full-stack development and my experience has been phenomenal & they really do help with placements exceptionally. Thank you Roshan sir so much.
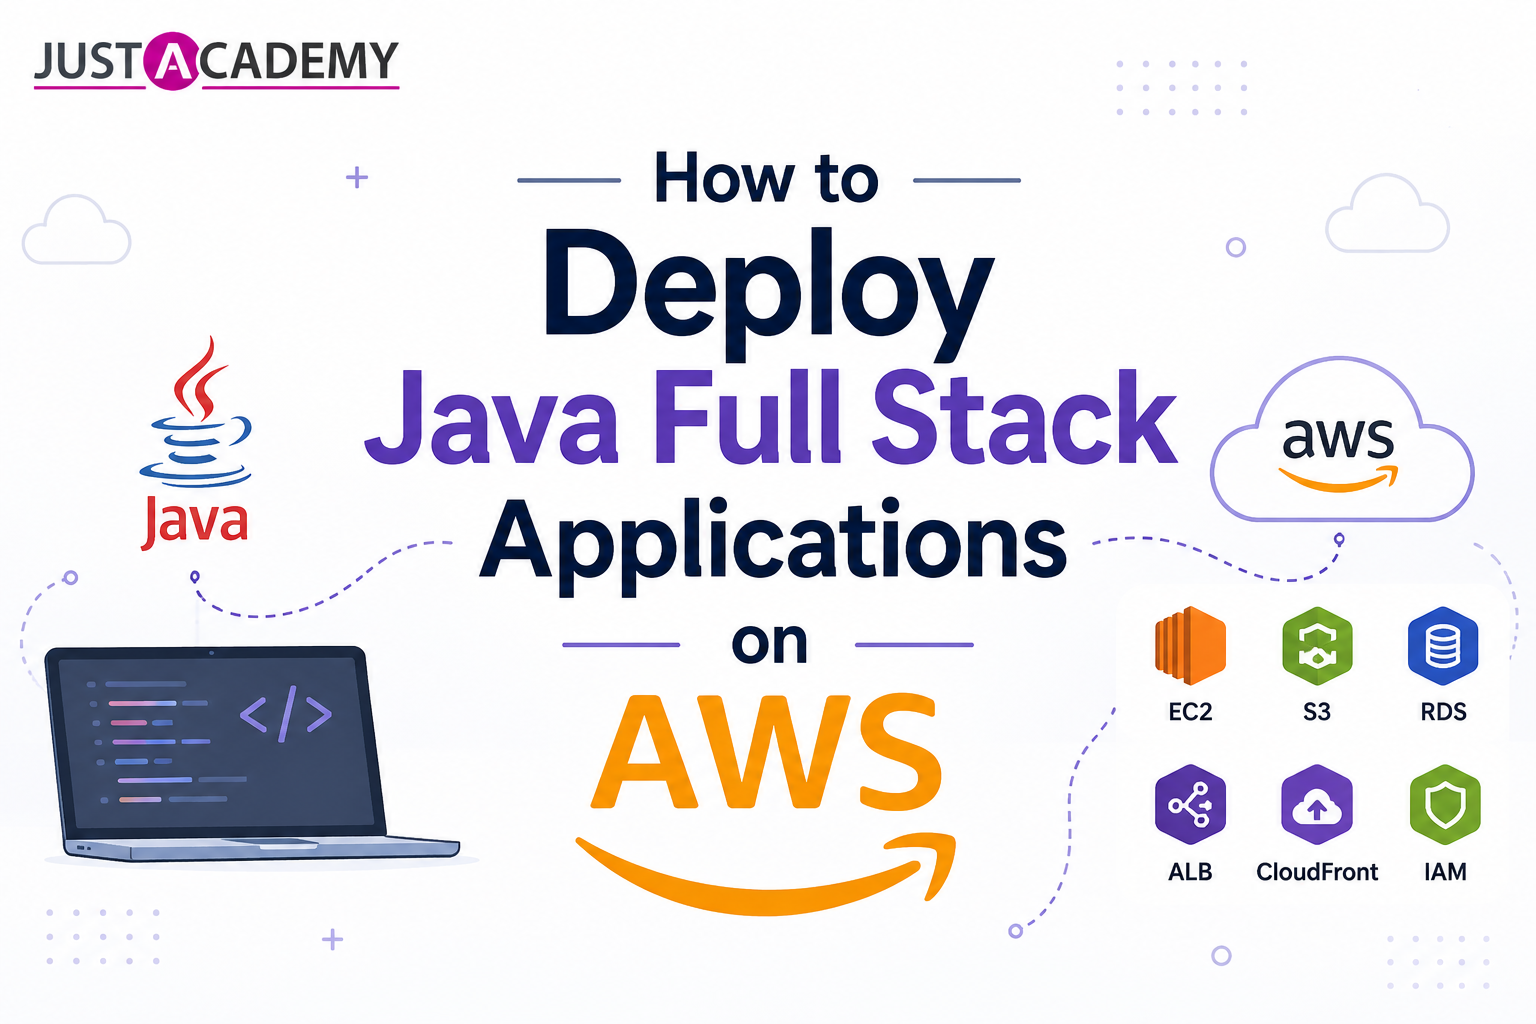
Writing a working Java full stack application is only part of the job. Knowing how to deploy that application to AWS so real users can actually access it is what separates a developer who can build software from a developer who can ship software, and this distinction is increasingly what Indian employers are screening for in 2026. Full stack Java developer job descriptions at product companies, GCCs, and startups in Mumbai, Bengaluru, and Pune now routinely list AWS deployment knowledge as an expected skill rather than a specialized DevOps responsibility, because development teams that own their deployment process ship faster and debug production issues more effectively.
This complete guide explains how to deploy java app on aws, covering the full process of deploying a Spring Boot backend on AWS EC2, connecting it to a managed AWS RDS database, deploying a React frontend on AWS S3, and configuring the production setup with Nginx and security best practices. Every step is explained for developers who have built a Java full stack application and are deploying to AWS for the first time. Whether you are learning through the best course in Mumbai with offline classroom training or through live interactive online sessions, this guide gives you the practical deployment knowledge that closes the gap between writing code and shipping a real product.
Why Java Developers Must Understand AWS Deployment in 2026
AWS Dominance in India's Enterprise Java Hosting Landscape
Amazon Web Services remains the dominant cloud platform for Java application hosting in India in 2026, used extensively by product companies, fintech startups, GCCs, and increasingly by enterprises modernizing legacy Java systems away from on-premises infrastructure. AWS's combination of mature Java tooling support, extensive documentation, a vast talent pool of AWS-experienced engineers in India, and services specifically suited to Spring Boot application hosting make it the platform most full stack Java developers will encounter in their first professional role. Understanding AWS deployment is no longer a specialized skill reserved for dedicated DevOps engineers, because modern development teams practicing DevOps culture expect every developer to understand how their code reaches production and to be capable of deploying and troubleshooting their own services.
What Changes When You Deploy From Localhost to AWS
Deploying a Java full stack application to AWS introduces several considerations that do not exist when running an application on localhost during development. The application must run on a server that is accessible over the internet rather than only on the developer's machine. The database must be a managed, persistent service rather than a local instance that exists only on the developer's laptop. Environment-specific configuration including database credentials, API keys, and external service URLs must be managed securely rather than hardcoded in properties files. The application must handle being accessed by multiple concurrent users rather than just the developer testing locally. Security groups and network configuration must explicitly allow the necessary traffic while blocking everything else. And the deployment process itself, getting the compiled application onto the server and running it reliably, must be understood and repeatable rather than a one-time manual exercise.
AWS Services Used for Java Full Stack Deployment
Understanding the Core AWS Services for This Deployment
Before walking through the deployment steps, it helps to understand the specific AWS services involved and the role each plays. Amazon EC2, which stands for Elastic Compute Cloud, provides virtual servers called instances where the Spring Boot application will run. Amazon RDS, which stands for Relational Database Service, provides a managed relational database service that handles database administration tasks like backups, patching, and replication automatically, removing the burden of manually managing a database server. Amazon S3, which stands for Simple Storage Service, provides object storage that is commonly used to host static website content, making it an ideal choice for hosting a built React frontend. Security Groups act as virtual firewalls controlling inbound and outbound traffic to EC2 instances and RDS databases. An Elastic IP provides a static public IP address for an EC2 instance so its address does not change when the instance is stopped and restarted. Route 53 is AWS's domain name service used for connecting a custom domain name to the deployed application. For a typical Java full stack deployment, EC2 hosts the Spring Boot backend, RDS hosts the database, and S3 hosts the React frontend build, with all three services working together to deliver the complete application.
Step-by-Step Guide to Deploying a Spring Boot Application on AWS EC2
Step 1: Preparing the Spring Boot Application for Production
Before deploying, the Spring Boot application must be configured correctly for a production environment rather than local development. This means externalizing all environment-specific configuration including database URLs, credentials, and any third-party API keys into environment variables rather than hardcoding them in application.properties, since the production database connection details will differ from local development values. Spring Boot's support for profile-specific configuration files, such as application-prod.properties, allows production-specific settings to be activated by setting the active profile to prod through an environment variable when the application starts. The application should also be configured with appropriate logging levels for production, typically INFO or WARN rather than the more verbose DEBUG level used during development, to avoid excessive log volume in production.
Once the configuration is production-ready, the application is packaged into an executable JAR file using Maven with the command mvn clean package, which compiles the code, runs tests, and produces a JAR file in the target directory that contains the application and all its dependencies bundled together using Spring Boot's executable JAR packaging, making it runnable with a simple java -jar command without requiring a separately installed application server.
Step 2: Launching an EC2 Instance
Launching an EC2 instance begins in the AWS Management Console under the EC2 service. The instance launch wizard requires selecting an Amazon Machine Image, commonly abbreviated AMI, which is a template defining the operating system and pre-installed software for the instance. Amazon Linux 2023 or Ubuntu Server are common choices for Java application hosting because of their stability and extensive community support. The instance type determines the computing resources allocated, with t2.micro or t3.micro being appropriate for learning and small applications because they fall within AWS's free tier eligibility, while production applications with real traffic typically require t3.medium or larger instances depending on load.
During launch, a new key pair must be created or an existing one selected, which generates a private key file that will be required to SSH into the instance securely. The key pair file must be downloaded and stored securely because AWS does not retain a copy and losing it means losing SSH access to the instance. The security group configuration for the instance must allow inbound traffic on port 22 for SSH access, restricted ideally to the developer's specific IP address rather than open to the entire internet, and port 8080 or whichever port the Spring Boot application will run on, allowing HTTP traffic to reach the application. After configuring storage, which defaults to 8GB and is typically sufficient for a Spring Boot application without large file storage requirements, the instance is launched and begins initializing.
Step 3: Connecting to the EC2 Instance via SSH
Once the EC2 instance shows a running state in the console, connecting to it requires SSH access using the downloaded key pair file. On Linux and macOS, the key file permissions must first be restricted using chmod 400 on the key file, because SSH refuses to use key files with overly permissive access rights. The SSH connection command uses the format ssh followed by the -i flag specifying the key file path, the username appropriate for the chosen AMI such as ec2-user for Amazon Linux or ubuntu for Ubuntu, and the public IP address or public DNS name of the instance, which is visible in the EC2 console. On Windows, PuTTY or Windows Subsystem for Linux provide equivalent SSH access. Once connected, the terminal session is now running commands directly on the remote EC2 instance.
Step 4: Installing Java on the EC2 Instance
The EC2 instance starts with only the base operating system installed, requiring the Java Runtime Environment to be installed before the Spring Boot application can run. On Amazon Linux, this is done using the package manager with a command like sudo yum install java-17-amazon-corretto, installing Amazon Corretto, which is Amazon's free, production-ready distribution of OpenJDK. On Ubuntu, the equivalent command uses apt to install OpenJDK. After installation, running java -version confirms the correct Java version is installed and accessible. Matching the Java version on the EC2 instance to the version the Spring Boot application was built and tested against prevents compatibility issues that can otherwise cause confusing runtime errors.
Step 5: Transferring the Application JAR to EC2
The compiled Spring Boot JAR file built on the local development machine must be transferred to the EC2 instance. The most common approach for a straightforward deployment uses the scp command, which securely copies files over SSH, using the same key file and connection details used for the SSH connection, specifying the local path to the JAR file and the destination path on the remote instance. For more sophisticated deployment workflows, the JAR is instead pulled directly onto the EC2 instance from a Git repository after cloning the source code and building it on the instance itself using Maven, or from an artifact repository where the CI/CD pipeline has published the built JAR, which is the more scalable approach for teams with established CI/CD practices that this guide covers in a later section.
Step 6: Running the Spring Boot Application on EC2
Once the JAR file is on the EC2 instance, it can be run with the standard command java -jar followed by the JAR filename. Running it this way directly in the SSH session means the application stops as soon as the SSH session disconnects, which is unsuitable for any real deployment. The nohup command combined with running the process in the background using an ampersand, or more robustly, using a process manager, keeps the application running after the SSH session ends. The most reliable approach for production EC2 deployments configures the Spring Boot application as a systemd service, creating a service definition file that specifies the Java command to run, configures the service to restart automatically if it crashes, and configures it to start automatically when the EC2 instance boots. This systemd configuration is what transforms a manually started Java process into a properly managed production service that survives instance reboots and recovers automatically from crashes.
Connecting Your Java Application to AWS RDS and Deploying the React Frontend
Step 7: Creating an RDS Database Instance
Running a database directly on the same EC2 instance as the application is workable for learning purposes but is not the production-appropriate approach, because it couples the database lifecycle to the application server's lifecycle and lacks the automated backup, patching, and high-availability features that a managed database service provides. Amazon RDS is created through the RDS section of the AWS console by selecting the database engine, typically MySQL or PostgreSQL for Spring Boot applications, choosing an instance size appropriate for the workload with db.t3.micro being free-tier eligible for learning purposes, setting a master username and password that the Spring Boot application will use to connect, and configuring the storage allocation.
The networking configuration for the RDS instance is critical for security. The database should be placed in the same VPC as the EC2 instance and configured with a security group that allows inbound traffic on the database port, typically 3306 for MySQL, only from the security group associated with the EC2 instance running the application, never opened to the public internet. This network isolation ensures the database is only reachable by the application server, not by arbitrary internet traffic, which is a fundamental security requirement for any production database deployment.
Step 8: Configuring Spring Boot to Connect to RDS
Once the RDS instance is available, its endpoint, which is the hostname AWS assigns to the database instance, is used to construct the JDBC connection URL in the Spring Boot application's production configuration. The application-prod.properties file or the equivalent environment variables specify spring.datasource.url with the RDS endpoint, port, and database name, along with spring.datasource.username and spring.datasource.password matching the RDS master credentials. These credential values should never be committed to version control, instead being injected as environment variables on the EC2 instance through the systemd service configuration or through AWS Systems Manager Parameter Store for more secure secret management. Once configured, restarting the Spring Boot application on EC2 with the updated configuration connects it to the RDS database, and Spring Boot's Hibernate integration with the appropriate ddl-auto setting can create the required tables automatically on first startup if configured to do so, though production deployments typically use a controlled migration tool like Flyway rather than relying on automatic schema generation.
Step 9: Building and Preparing the React Frontend for Deployment
With the backend running on EC2 and connected to RDS, the React frontend needs to be built and deployed separately. Running npm run build in the React project produces an optimized production build in the build directory, consisting of static HTML, CSS, and JavaScript files along with any static assets. Before building, the React application's API base URL configuration must be updated to point to the deployed backend's public address rather than localhost, typically managed through an environment variable file specific to the production build that React's build tooling reads automatically based on the build environment.
Step 10: Hosting the React Frontend on AWS S3
Amazon S3 is well-suited for hosting a React application's static build output because S3 supports static website hosting directly, serving HTML, CSS, and JavaScript files without requiring a running server process. An S3 bucket is created through the S3 console with a globally unique name, and static website hosting is enabled in the bucket's properties, specifying index.html as both the index document and the error document, which ensures that React Router's client-side routing works correctly even when users navigate directly to specific application routes. The contents of the React build directory are uploaded to the S3 bucket, either through the console's upload interface or using the AWS CLI command aws s3 sync for a more efficient and repeatable upload process. The bucket policy must be configured to allow public read access to the objects, since the website's static files need to be publicly accessible to visitors. Once configured, S3 provides a website endpoint URL where the deployed React frontend becomes accessible.
Step 11: Configuring CORS Between the React Frontend and Spring Boot Backend
Because the React frontend hosted on S3 and the Spring Boot backend hosted on EC2 have different origins, the backend must be configured to allow cross-origin requests from the S3 website's URL. This is configured in the Spring Boot application through a CORS configuration class that specifies the allowed origin as the S3 website endpoint or the eventual custom domain if one is used, the allowed HTTP methods including GET, POST, PUT, and DELETE, and the allowed headers including the Authorization header if JWT authentication is being used. Without correct CORS configuration, the browser will block all requests from the React frontend to the Spring Boot backend, which is one of the most common deployment issues beginners encounter when their application works locally but fails when accessed from the deployed frontend.
Production Best Practices for Java Full Stack Applications on AWS
Setting Up Nginx as a Reverse Proxy
Running the Spring Boot application directly on a port like 8080 and exposing that port directly to the internet is functional but not the recommended production configuration. Installing Nginx on the EC2 instance and configuring it as a reverse proxy provides several important benefits. Nginx can listen on the standard HTTP port 80 and HTTPS port 443, forwarding requests to the Spring Boot application running internally on port 8080, which allows the application's URL to be clean without an exposed port number. Nginx can terminate SSL/TLS, handling HTTPS certificate management in one place rather than configuring SSL within the Spring Boot application itself. Nginx can serve as a basic load balancer if the application is later scaled to multiple instances. Nginx can also implement basic rate limiting and request filtering before traffic reaches the application, providing an additional layer of protection. The Nginx configuration file defines a server block listening on port 80, with a location block that proxies all requests to localhost on port 8080 where the Spring Boot application is actually running, setting the appropriate proxy headers so the application can see the real client IP address and protocol information.
Configuring HTTPS With Let's Encrypt
Serving a production application over plain HTTP exposes user data, authentication tokens, and all transmitted information to interception. Let's Encrypt provides free SSL/TLS certificates that can be installed on the EC2 instance using the Certbot tool, which automates both the certificate issuance process and the Nginx configuration changes required to enable HTTPS. Certbot can automatically configure Nginx to redirect all HTTP traffic to HTTPS and to renew the certificate automatically before it expires, since Let's Encrypt certificates are valid for ninety days and require periodic renewal. A custom domain name, configured through Route 53 or any domain registrar to point to the EC2 instance's Elastic IP address, is required for Let's Encrypt certificate issuance because certificates are issued for specific domain names rather than raw IP addresses.
Using an Elastic IP for a Stable Address
By default, an EC2 instance's public IP address changes if the instance is stopped and restarted, which breaks any DNS configuration pointing to the previous address. Allocating an Elastic IP address and associating it with the EC2 instance provides a static public IP address that remains the same regardless of instance stop and start cycles. This is an essential configuration step for any production deployment because DNS records, SSL certificates, and any external integrations that reference the application's address depend on that address remaining stable.
Setting Up CI/CD With GitHub Actions for Automated Deployment
Manually SSH-ing into an EC2 instance and transferring updated JAR files every time the application changes is workable for learning but becomes impractical and error-prone for ongoing development. GitHub Actions provides a CI/CD workflow that automates the build and deployment process whenever code is pushed to the repository. A workflow file defines steps that check out the latest code, set up the correct Java version, run the Maven build to produce the JAR file, and then deploy the built JAR to the EC2 instance using an SSH action that connects with the stored SSH key, securely managed as a GitHub Actions secret rather than committed to the repository, stops the currently running application, replaces the JAR file, and restarts the systemd service. Setting up this automated pipeline transforms deployment from a manual, error-prone process into a reliable, repeatable one that triggers automatically on every code change, which is the standard practice expected at professional development teams in 2026.
Monitoring and Logging in Production
A deployed application requires visibility into its runtime behavior to detect and diagnose problems before they significantly impact users. AWS CloudWatch automatically collects basic EC2 instance metrics including CPU utilization, network traffic, and disk usage, which can be used to set up alarms that notify the team when resource usage indicates a potential problem. Application-level logging from the Spring Boot application can be configured to write to files on the EC2 instance and optionally forwarded to CloudWatch Logs for centralized log access and searching without needing to SSH into the instance to view log files directly. For applications with growing complexity, integrating Spring Boot Actuator provides health check and metrics endpoints that CloudWatch and external monitoring tools can consume to track application-level health beyond basic infrastructure metrics.
Database Backup and Security Best Practices
RDS provides automated backup functionality that should be enabled with an appropriate retention period, ensuring point-in-time recovery is possible if data corruption or accidental deletion occurs. Database credentials should never be hardcoded in the application source code or committed to version control, and for production deployments at scale, AWS Secrets Manager provides secure storage and automated rotation of database credentials that the application retrieves at runtime rather than reading from static configuration. The RDS security group should remain restricted to only the application server's security group, and the database should never be configured with public accessibility enabled unless there is a specific, carefully considered reason to do so.
Cost Management for AWS Java Deployments
AWS costs can grow unexpectedly for developers and teams unfamiliar with the platform's pricing structure. Setting up AWS Budgets to receive alerts when spending approaches a defined threshold prevents surprise charges. Using free-tier eligible instance types like t2.micro and t3.micro for learning and small projects, and stopping EC2 instances when they are not actively needed during the learning phase, since EC2 charges are based on running time, helps keep costs manageable. For production applications with real traffic, right-sizing instance types based on actual observed resource usage rather than over-provisioning by default, and using RDS reserved instances for predictable long-term cost savings on databases that will run continuously, are practices that experienced AWS users apply to keep cloud costs proportional to actual application needs.
Common Deployment Issues and How to Resolve Them
Application Not Accessible From Browser After Deployment
When a Spring Boot application is running on EC2 according to the systemd service status but cannot be accessed from a browser, the most common causes are a security group that does not allow inbound traffic on the required port, an application bound to localhost rather than all network interfaces which by default Spring Boot handles correctly but custom configuration can break, or a firewall on the operating system itself such as iptables or ufw blocking the traffic even though the AWS security group allows it. Systematically checking the security group rules, confirming the application logs show it started successfully and is listening on the expected port, and testing connectivity with curl directly on the EC2 instance before testing from an external browser isolates which layer is causing the issue.
Database Connection Failures
When the Spring Boot application cannot connect to the RDS database, the most common causes are an RDS security group that does not allow inbound traffic from the EC2 instance's security group, incorrect connection string formatting in the application configuration, or RDS instance not yet being in an available state when the application attempts to connect during startup. Verifying the RDS endpoint and port are correctly specified, confirming the security group configuration explicitly allows the EC2 security group as a source, and checking the RDS instance status in the console resolves the majority of connection issues.
CORS Errors When Frontend Calls Backend
When the React frontend deployed on S3 receives CORS errors when calling the Spring Boot backend, the resolution almost always involves correctly configuring the CORS allowed origins in the Spring Boot application to exactly match the S3 website endpoint or custom domain being used, including the correct protocol, since http and https are treated as different origins by CORS rules.
Why Structured Training Produces Better AWS Deployment Skills
Deploying Java full stack applications to AWS connects together Java application configuration, Linux server administration, networking and security concepts, database management, and CI/CD automation, and gaining genuine competency requires hands-on practice deploying real applications rather than reading deployment guides without executing the steps. The errors and troubleshooting experience that come from actually deploying an application, encountering a security group misconfiguration, and resolving it independently build the practical fluency that interviews and real jobs require, in a way that passive reading cannot replicate.
JustAcademy's Java training programs include AWS deployment as part of the complete full stack curriculum, covering EC2, RDS, S3, Nginx configuration, and CI/CD integration through live interactive sessions with real-time doubt resolution, hands-on deployment projects where students deploy their own Spring Boot and React applications to AWS under instructor guidance, and placement support tailored to the Indian Java developer job market where deployment knowledge is increasingly expected.
For professionals and freshers in Maharashtra who prefer hands-on classroom learning, Advance Java Training in Mumbai is widely recognized as the best course in Mumbai for building complete, interview-ready Spring Boot and deployment skills. For learners anywhere in India or globally, Advance Java Online Training delivers the same fully live and interactive curriculum with placement support from any location.
For learners building the complete full stack Java skill set including frontend, backend, and deployment:
Learning how to deploy java app on aws transforms a Java developer from someone who can write working code into someone who can ship a complete, production-ready product, and this distinction is increasingly what separates competitive candidates in India's full stack Java job market in 2026. Deploying a Spring Boot application on AWS EC2, connecting it to a managed RDS database, hosting the React frontend on S3, and applying production practices including Nginx reverse proxying, HTTPS configuration, CI/CD automation, and monitoring covers the complete deployment skill set that professional Java full stack roles require.
The developers who deploy confidently are those who have actually walked through this process hands-on, encountered the security group misconfigurations and CORS errors that inevitably arise, and resolved them through systematic troubleshooting rather than only reading about the steps. Building this practical fluency through structured, hands-on practice is significantly more effective than passive reading of deployment documentation alone.
For learners in Maharashtra, Advance Java Training in Mumbai is the best course in Mumbai for complete Spring Boot and AWS deployment training with classroom training and real project experience. For learners globally, Advance Java Online Training delivers the same live interactive curriculum and placement support from anywhere.
Register for a Free Demo to experience the training firsthand and discuss your Java and AWS deployment learning goals with an advisor, or Download the Brochure to review the full curriculum, project details, and batch schedules before you enroll.
Why Java Developers Must Understand AWS Deployment in 2026
Step-by-Step Guide to Deploying a Spring Boot Application on AWS EC2
Connecting Your Java Application to AWS RDS and Deploying the React Frontend
Production Best Practices for Java Full Stack Applications on AWS